main dish•lunch•entrée•dinner
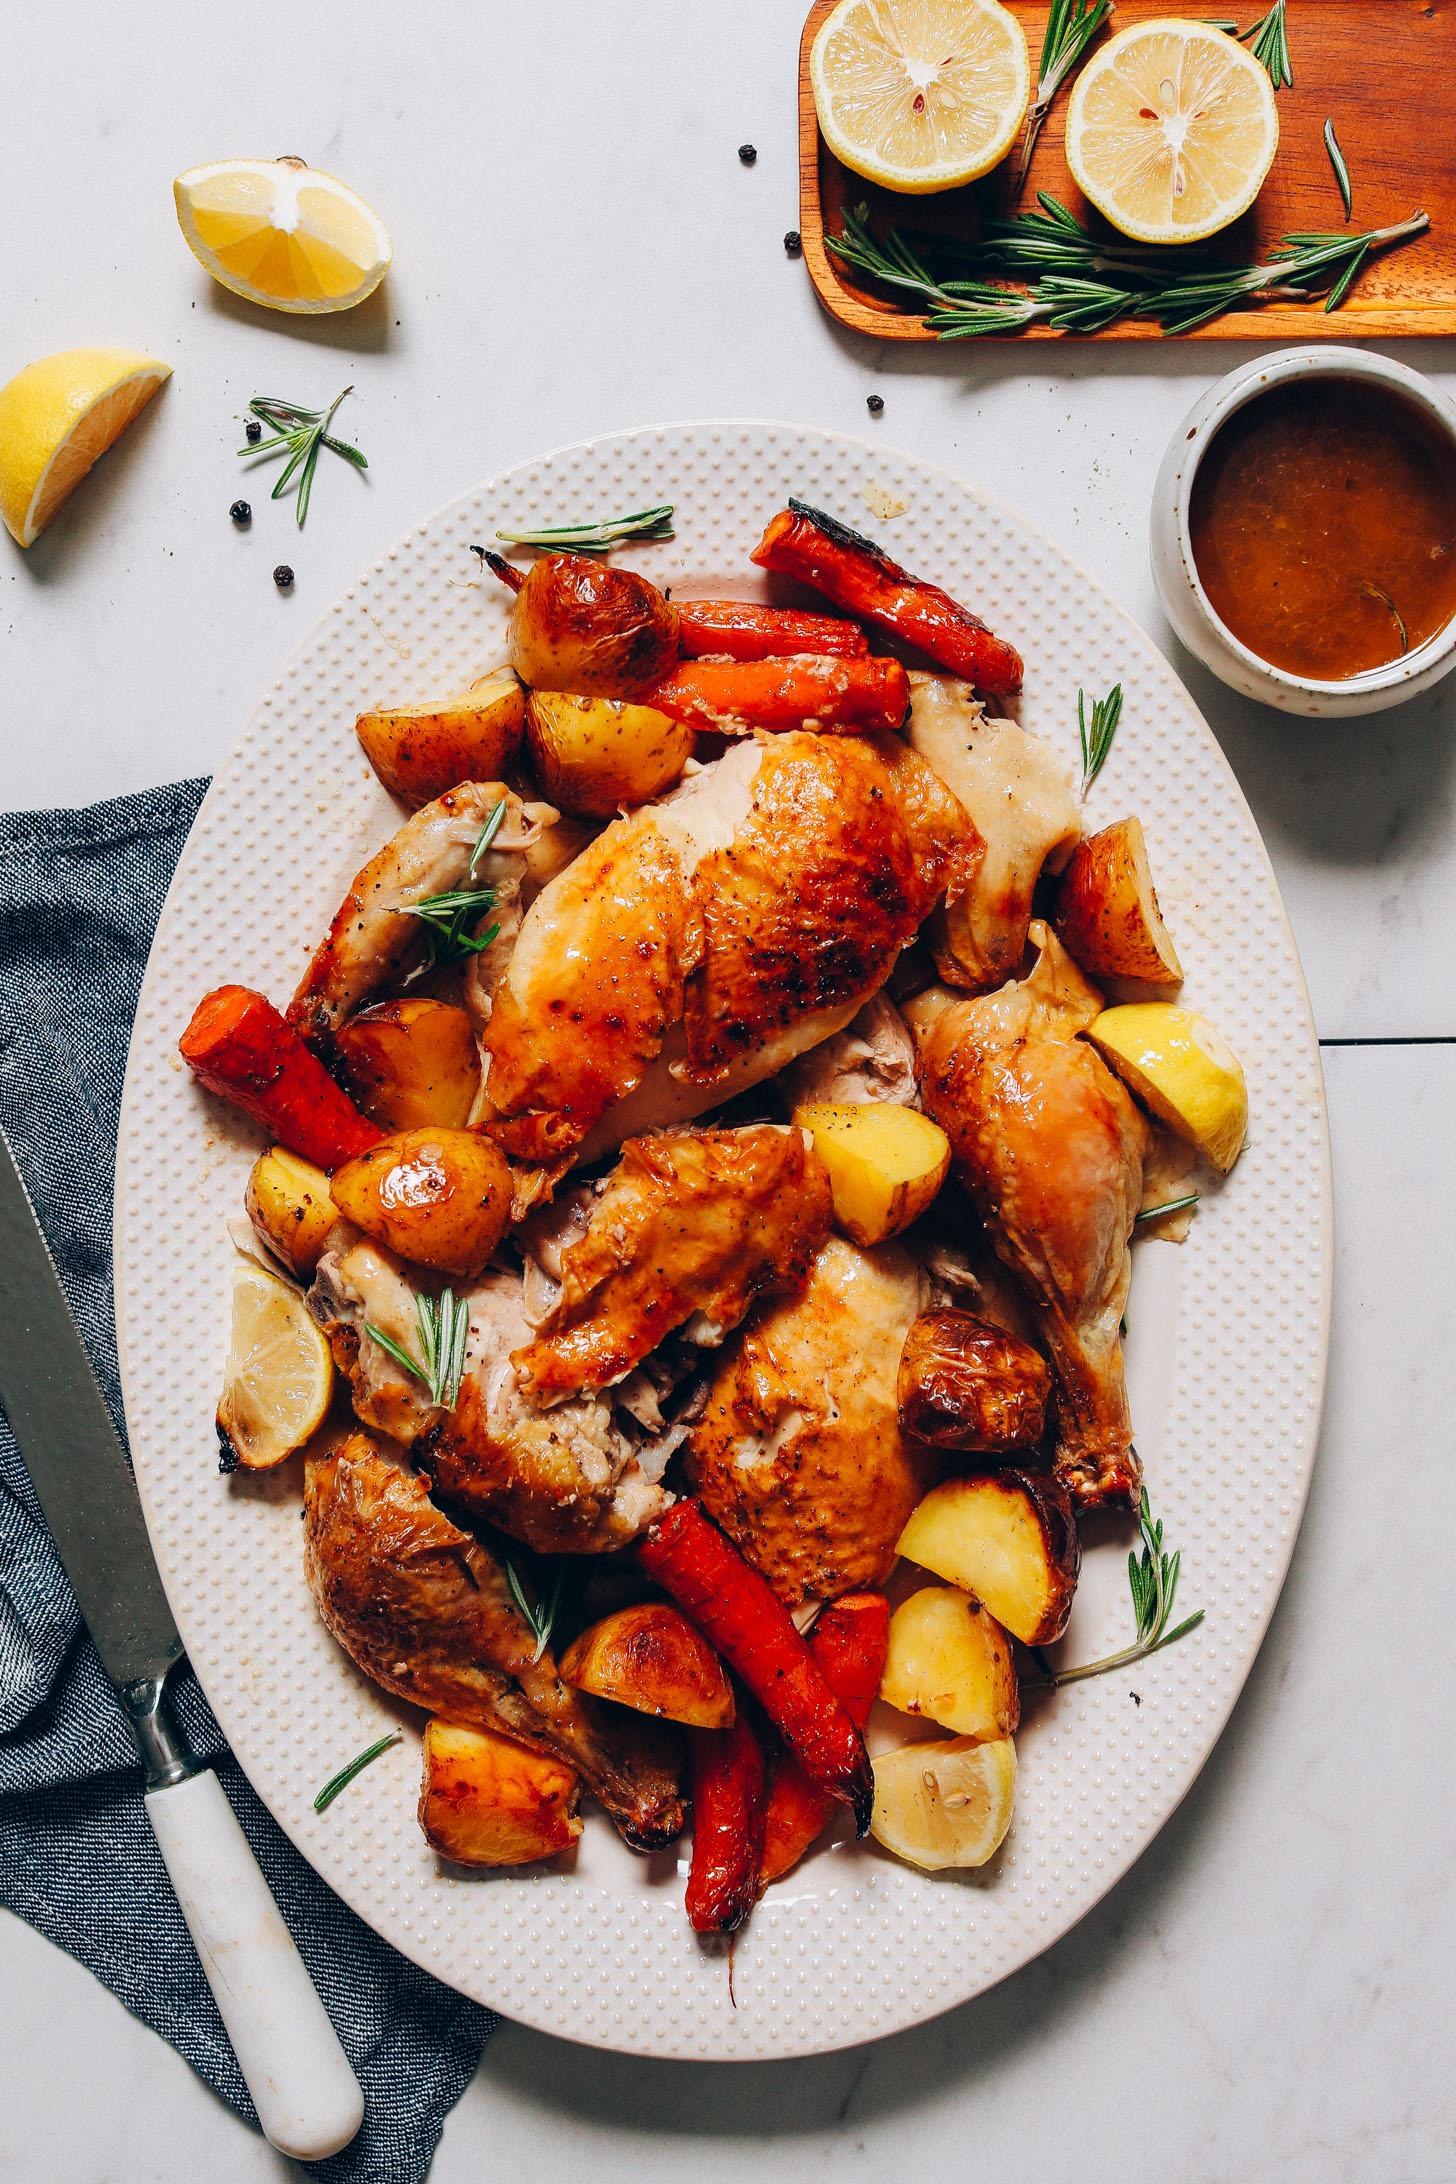
Lemon & Herb Roasted Chicken
For Crohn S Disease
Lactose Free
272 kcal
12 gfat
0 gcarbs
20 gprotein
Meal plan
Casein Crusader
Nutrition Notes
Lactose Free *
Recipe is appropriate if dairy-free butter is used. Avoid regular butter for lactose intolerance.
For Crohns Disease *
Appropriate if tolerated. Crohn's disease varies; some can handle fiber from veggies. Avoid if in fl...
* Gluten is an early-stage product and can make mistakes. Verify its outputs.
Ingredients
- 1-2 cups small golden potatoes, cut into large quarters or halves (more or less depending on size of roasting pan)
- 1 3-4 pound whole chicken (organic and free-range or pasture-raised whenever possible)
- 1-2 cups carrots, trimmed and peeled as needed, chopped into large chunks (more or less depending on size of roasting pan)
- 1 small lemon, rinsed and quartered
- 2 Tbsp avocado oil (or other neutral oil with high smoke point)
- 2 Tbsp melted butter (Miyoko’s or Earth Balance for dairy-free // organic butter if okay with dairy)
- 1-2 tsp black pepper
- 1 generous pinch each sea salt and black pepper
- 3/4-1 Tbsp sea salt
- 4 sprigs fresh rosemary (or sub thyme)
Preparation
- 1
Step 1
NOTE: This chicken does best when prepped 24 hours in advance. If that’s not doable, season and chill at least 8-10 hours before cooking for crispier skin and more flavorful chicken.
- 2
Step 2
Set chicken on a clean plate then wash hands with hot soapy water. Melt butter and drizzle over the skin of the chicken and brush to distribute evenly. Season the exterior and interior cavity of the chicken with salt and pepper (as the recipe is written, about 3/4-1 Tbsp sea salt and 1-2 tsp black pepper). This sounds like a lot of salt, but there should be a generous layer of seasoning on the chicken so it flavors the meat well. (For a roughly 4 lb. chicken, we used about 1 Tbsp salt and 2 tsp black pepper total.)
- 3
Step 3
Insert the lemon and fresh rosemary into the cavity — this infuses more flavor and also makes for a more flavorful broth (if making broth afterward).
- 4
Step 4
Set the chicken in the fridge uncovered (this allows the chicken to dry out a bit, which helps it crisp more when roasting). Wait 24-36 hours (ideally) or at least 8-10 hours to cook. At this time, be sure to wash hands with hot soapy water again and clean all surfaces well to avoid spreading bacteria.
- 5
Step 5
Once you’re ready to cook your chicken, preheat oven to 450 degrees F (232 C). Get out a large rimmed roasting pan or cast-iron skillet (we like this baking dish). If adding veggies (optional) add carrots and potatoes to the pan. Drizzle with a bit of oil and season well with salt and pepper. Then toss to combine.
- 6
Step 6
Arrange the veggies around the perimeter of the dish, then add the chicken (breast side up) in the center (if not baking with veggies, just place chicken in center of pan).
- 7
Step 7
Bake for 45 minutes to 1 hour 15 minutes (UNCOVERED) or until the exterior is crispy and golden brown and the internal temperature of the thickest part of the thigh reads 165 F (74 C). I also like to measure the breast temperature to ensure it’s done in the center as well (also 165 F / 74 C). For an accurate read, be sure the thermometer is not touching bone.
- 8
Step 8
Remove from oven and let chicken rest for about 10-15 minutes before serving. This ensures the juices redistribute to keep the chicken moist.
- 9
Step 9
To slice the chicken, use a sharp knife to remove the wings and the thighs (option to cut the leg/drumstick from the thigh for easier serving portions). Then slice down either side of the breast bone and thinly slice the breasts into 1/4-inch serving portions. Use hands to carefully remove any other parts of meat from the bones. Lastly, if opting to make bone broth, save the bones (including the legs and wings after meat has been removed).
- 10
Step 10
To serve, arrange the carrots and potatoes on a serving platter and top with pieces of chicken. You will likely have a generous portion of cooking juices left over in the roasting pan, which I recommend transferring to a small dish and serving on the side to add more flavor as a lazy but delicious form of “gravy.”
- 11
Step 11
Enjoy hot. Save cooled leftover meat and veggies covered in the fridge up to 2-3 days. Transfer meat up to the freezer after that and store up to 1 month (veggies won’t freeze). Leftover meat can be enjoyed cold or hot (warm in the oven or microwave) on its own, or shredded and added to soup.
Bon appetit!
Hungry for more ?


