dressing/sauce•breakfast•lunch•dessert•snack•dinner
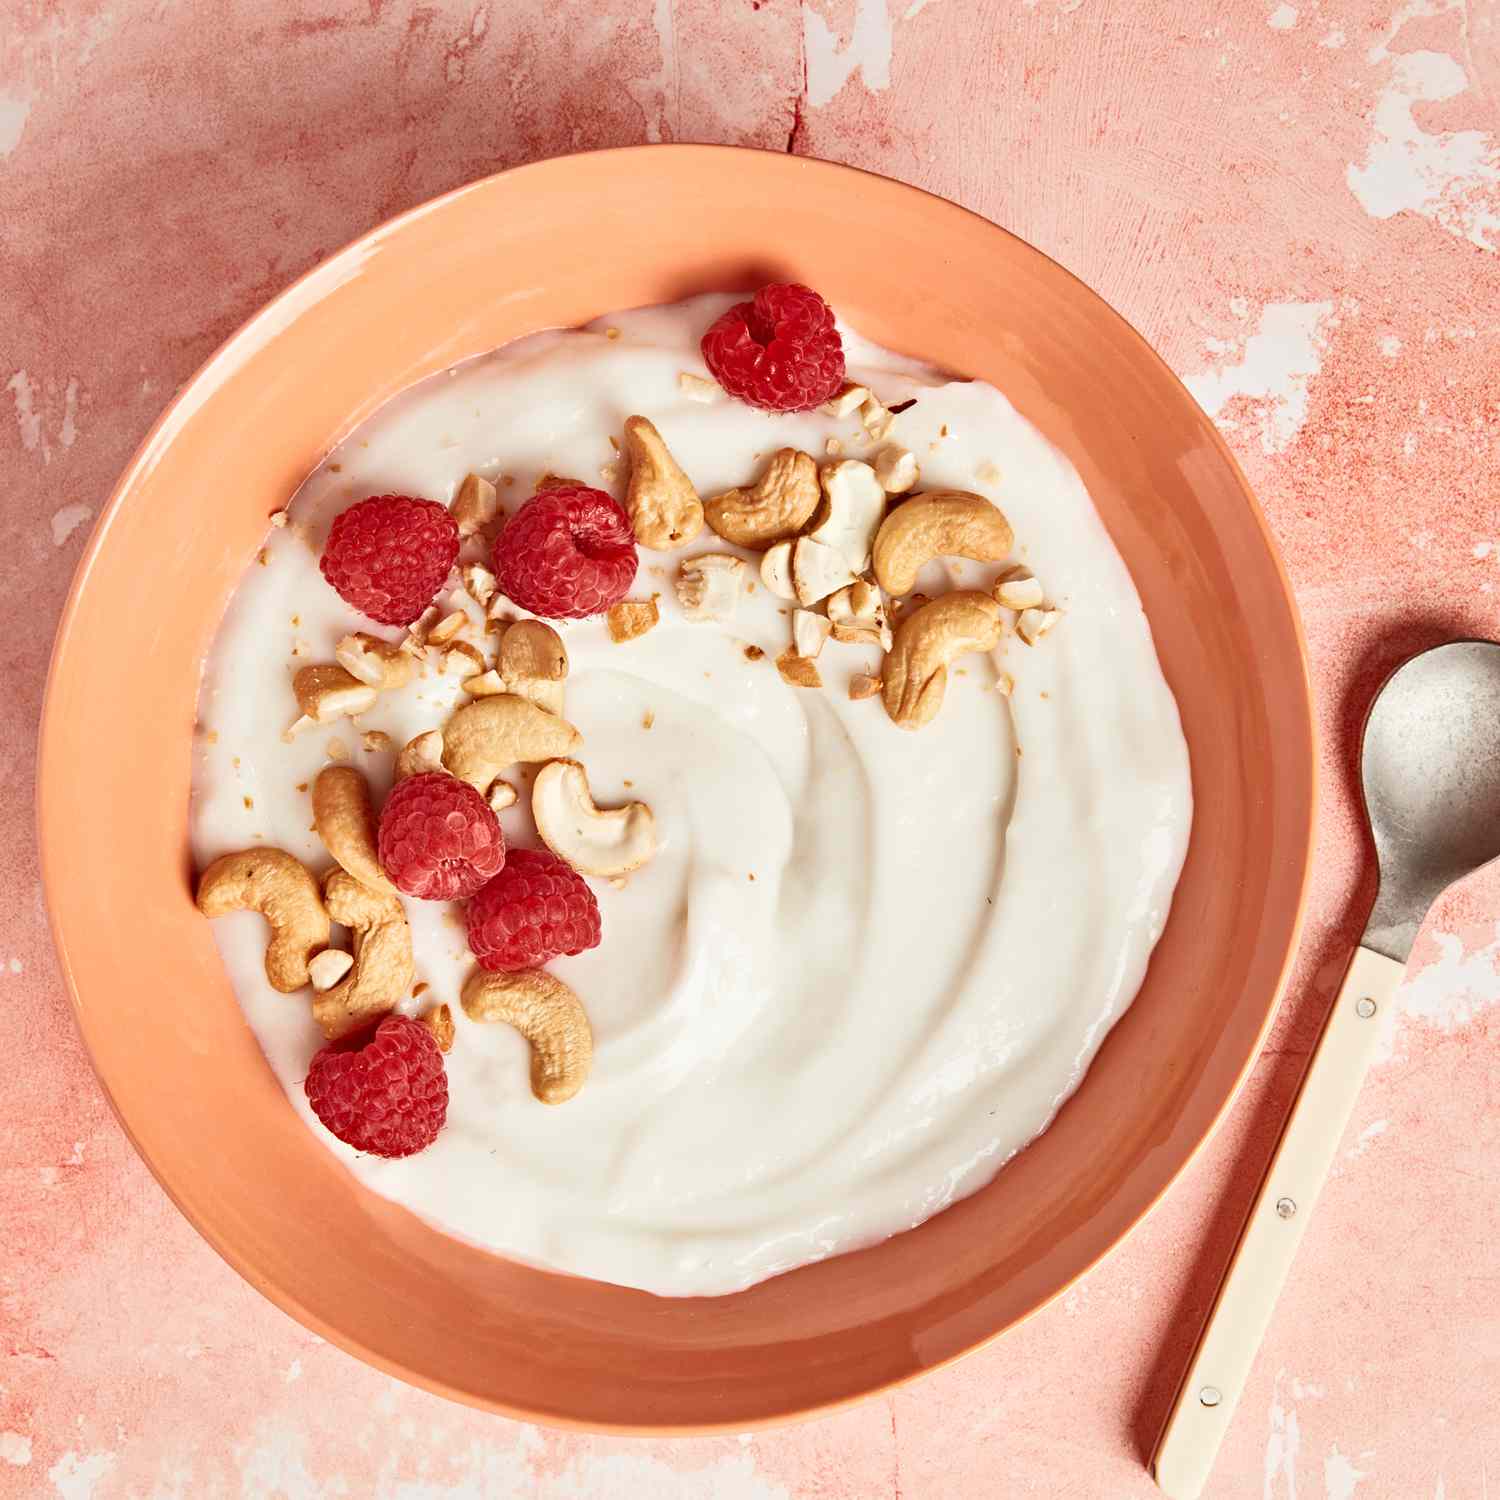
Instant-Pot Cashew Yogurt
For Psoriasis
Gluten Free
233 kcal
18 gfat
12 gcarbs
6 gprotein
Nutrition Notes
For Psoriasis *
This recipe for cashew yogurt is appropriate for individuals with psoriasis. Cashews and coconut mil...
Gluten Free *
This recipe for Instant-Pot Cashew Yogurt is appropriate for a gluten-free diet as it does not conta...
* Gluten is an early-stage product and can make mistakes. Verify its outputs.
Ingredients
- 2 1/2 cups raw whole cashews
- 2 cups hot water (160℉ to 180℉)
- 4 cups tap water, divided
- 2 tablespoons tapioca flour
- 2 tablespoons vegan coconut-milk yogurt
Preparation
- 1
Step 1
Place cashews in a large heatproof bowl; cover with 2 cups hot water. Soak for 2 hours. Drain the cashews. - 2
Step 2
Place the drained cashews in a blender; add 2 cups tap water. Process until smooth and creamy, 1 to 3 minutes, stopping to scrape down the sides as needed. Add tapioca flour and the remaining 2 cups tap water; process until very smooth and well combined, 1 to 3 minutes. - 3
Step 3
Add the cashew milk to a programmable pressure multicooker (such as Instant Pot; times, instructions and settings may vary according to cooker brand or model). Lock the lid in place, turning the steam release handle to Venting position. - 4
Step 4
Select Yogurt setting, and adjust to Boil or High (display may vary according to cooker brand or model). Select Start, if needed, to begin cooking (some models may start automatically). Cook until the milk reaches 180°F and the cooker beeps and reads Yogurt or End, about 30 minutes (for a thicker yogurt, see Tip). - 5
Step 5
Remove the lid and the cooker insert. Let the milk cool to a temperature of 110°F to 116°F, about 1 hour. To speed up cooling, place the insert in a large bowl of ice water; let cool, stirring often. Do not allow the milk to cool below 110°F. (A skin may form on top; skim off with a small fine-mesh strainer or spoon, if needed, and discard.) - 6
Step 6
Stir coconut-milk yogurt into the cooled milk. Return the insert to the cooker; lock the lid in place, turning the steam release handle to Venting position. Select Yogurt setting. Select Medium temperature for 10 hours. - 7
Step 7
After 10 hours, open the lid carefully, minimizing condensation dripping onto the yogurt. Let the yogurt stand, undisturbed, until cooled to room temperature, about 1 hour. Cover with plastic wrap and refrigerate until completely chilled, at least 6 hours or up to 12 hours. (The consistency should be similar to a well-stirred, creamy salad dressing.) - 8
Step 8
For thicker yogurt, line a fine-mesh strainer with a large coffee filter (or 2 pieces of cheesecloth) and set over a large bowl. Spoon in the yogurt. Refrigerate, covered with plastic wrap or a towel, until whey is strained from the yogurt and the yogurt is thick and creamy, at least 4 hours and up to 8 hours. Bon appetit!
Hungry for more ?


