breakfast•main dish•dessert
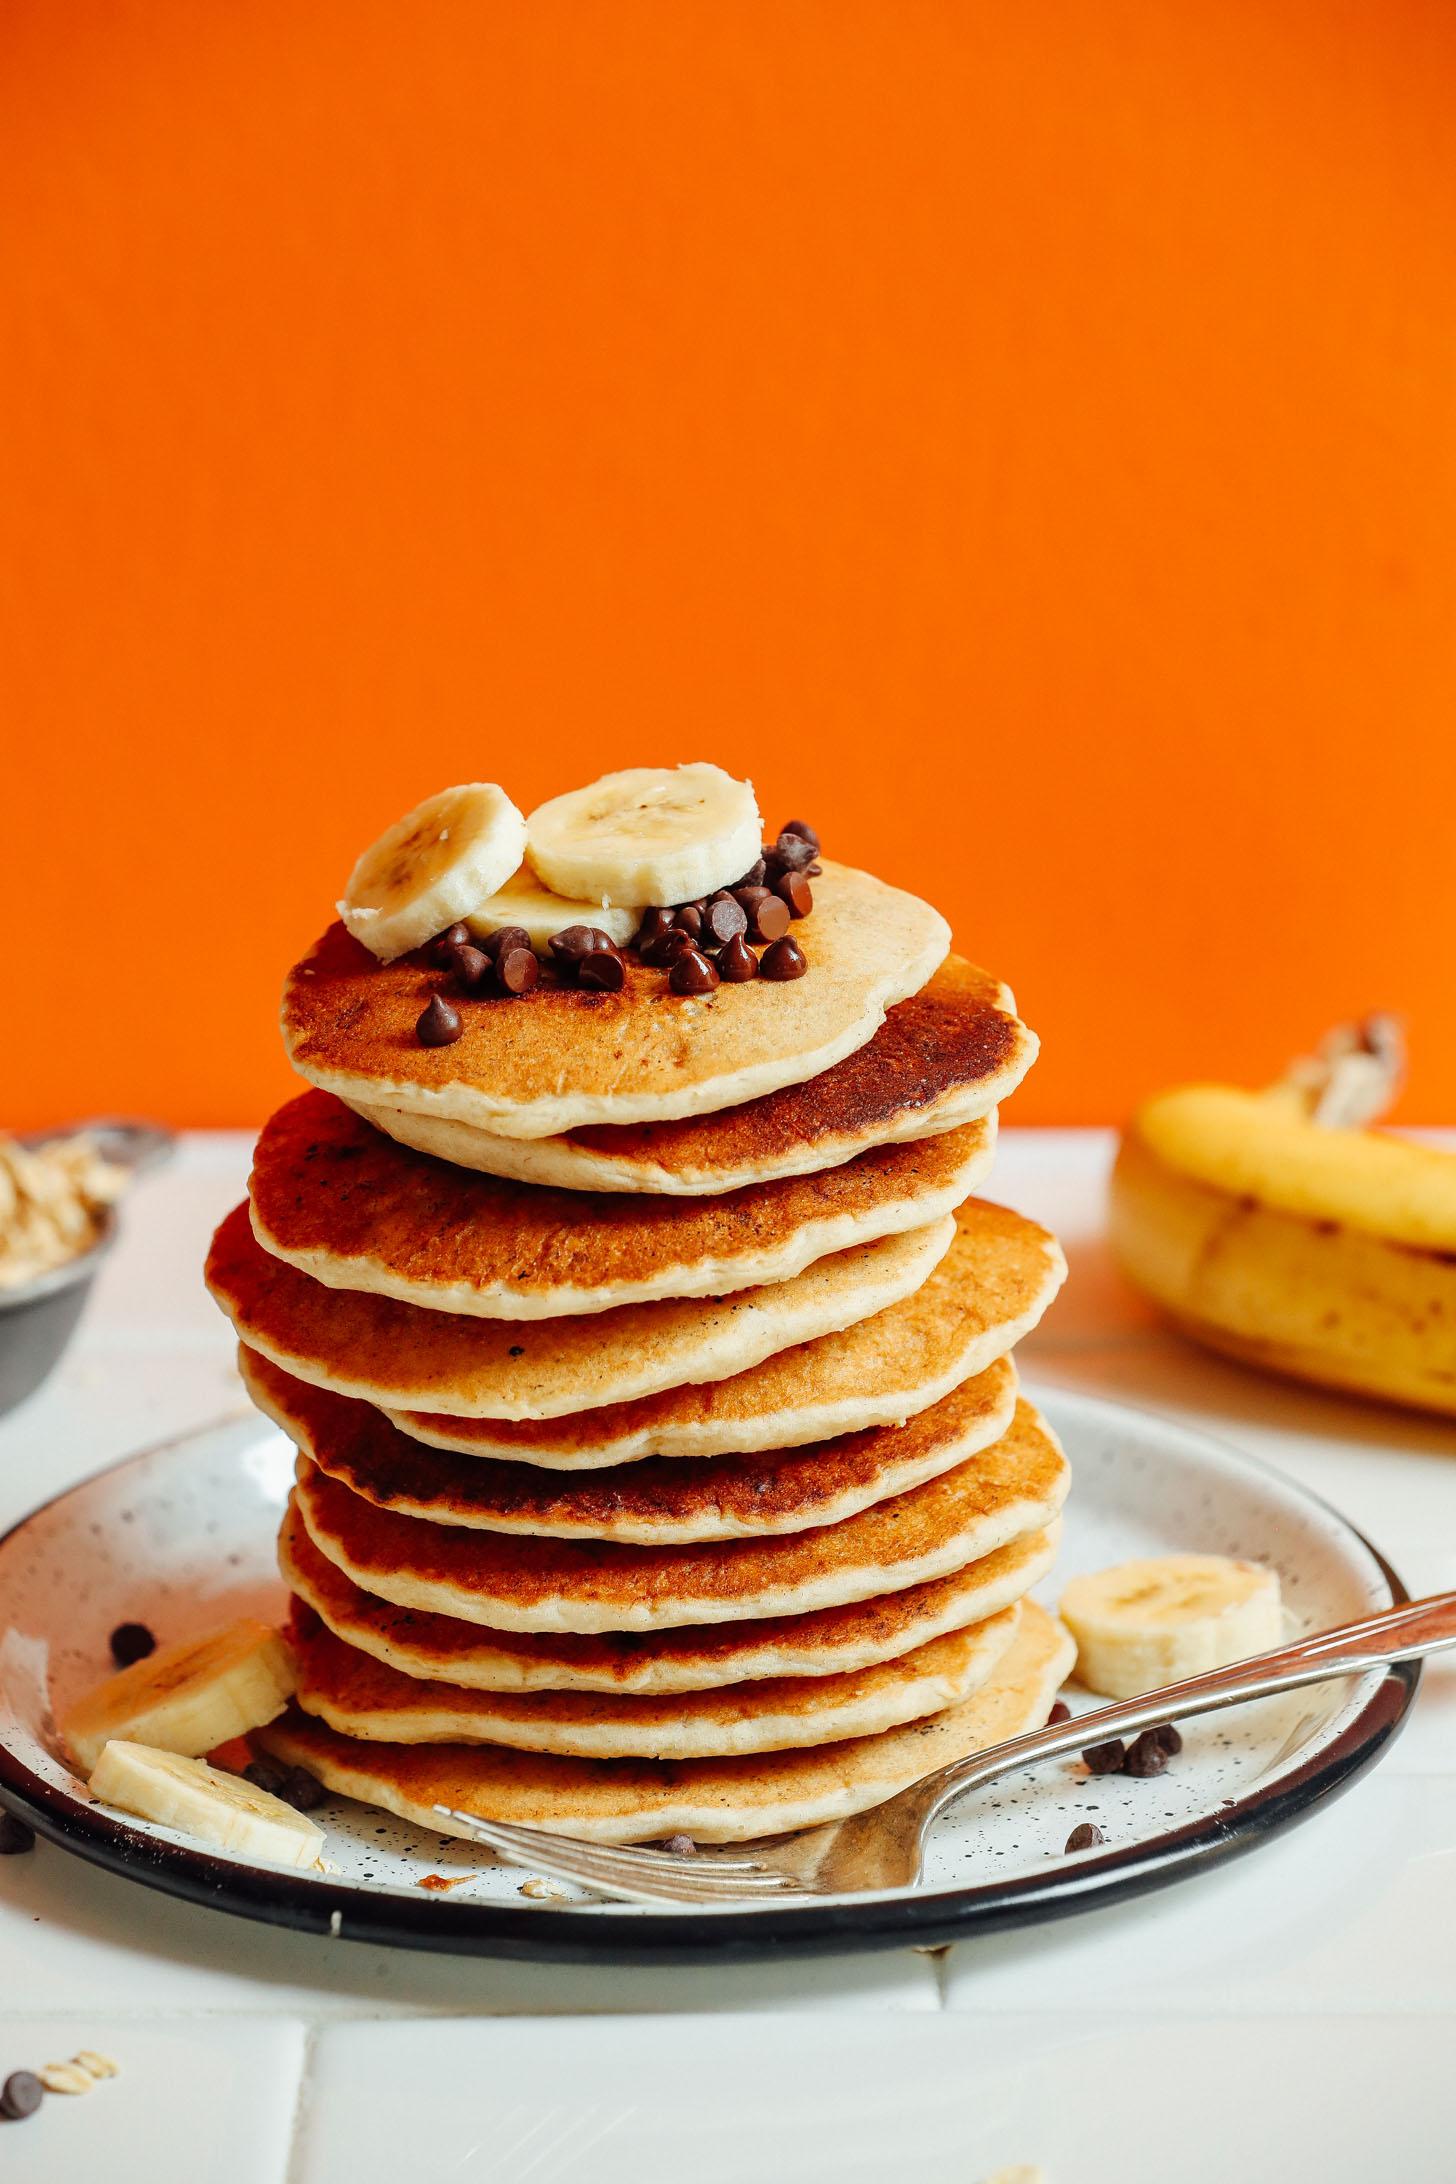
1-Bowl Vegan Banana Oat Pancakes
For Gastroesophageal Reflux Disease Gerd
Low Fat
95 kcal
3 gfat
13 gcarbs
2 gprotein
Meal plan
Sat-Fat Shadow
Nutrition Notes
For Esophageal Reflux Gerd *
The recipe is mostly appropriate. However, acidic fruits and high-fat content can trigger GERD sympt...
Low Fat *
The recipe uses various healthy fats (olive, avocado, coconut oil) but in moderate quantities consid...
* Gluten is an early-stage product and can make mistakes. Verify its outputs.
Ingredients
- 1 medium ripe banana (brown and spotty preferred)
- 1 1/2 Tbsp olive, avocado, or melted coconut oil (plus a little more for cooking)
- 1 1/2 Tbsp maple syrup (we recommend Grade A)
- 2 tsp baking powder
- 1/4 tsp sea salt
- 1 - 1 1/4 cups non-dairy milk (we recommend plain unsweetened almond milk)
- 3/4 cup gluten-free oat flour* (we recommend grinding from rolled gluten-free oats)
- 3/4 cup gluten-free flour blend (we recommend our DIY blend for best results)
- 1/4 cup almond flour (not almond meal // OR sub more gluten-free blend)
- 1/4 cup vegan dark chocolate chips or fresh or frozen fruit, like wild blueberries or blueberries
Preparation
- 1
Step 1
To a mixing bowl, add banana and mash. Then add oil, maple syrup, baking powder, and salt and whisk to combine. Then add non-dairy milk (start with the lesser amount and work your way up as needed) and whisk to combine. If using coconut oil and it hardens or clumps, it's not a big deal. You can microwave (for 45 seconds - 1 minute) to remelt - otherwise, proceed.
- 2
Step 2
Add oat flour, gluten-free flour, and almond flour. Gently stir (being careful not to over-mix) to combine. It should be thick but pourable/scoopable. If too thin, add more gluten-free or almond flour. If too thick, thin with a little non-dairy milk. If adding fruit or chocolate chips, add now and gently fold to combine.
- 3
Step 3
Heat a large nonstick skillet, griddle, or cast-iron skillet over medium heat. Carefully rub skillet with a little oil. (You will likely need to decrease the heat of the skillet to medium-low / low once it's hot as to not burn the pancakes.)
- 4
Step 4
Once hot, spoon 1/4 - 1/3 cup of the batter onto skillet. Cook until surface of pancakes have some bubbles and the edges appear dry (~2-3 minutes). Carefully flip pancakes and cook until browned on the underside (~3 minutes more). The gluten-free flour blend benefits from a slightly longer cooking time, so don’t be shy to get a nice golden brown color on both sides.
- 5
Step 5
Transfer cooked pancakes to a baking sheet or plate (don’t stack pancakes on top of one another) and keep warm in a 200-degree F (94 C) oven. Continue cooking until all batter is used up - about 12 pancakes (as original recipe is written).
- 6
Step 6
These pancakes are delicious on their own, but they're amplified with toppings such as additional fruit or chocolate chips, peanut butter, and maple syrup.
- 7
Step 7
Store cooled leftover pancakes (without toppings) in a container separated with wax or parchment paper to prevent sticking. Will keep in the refrigerator up to 4 days or in the freezer* up to 1 month. Reheat in the toaster oven, microwave, or oven until hot.
Bon appetit!
Hungry for more ?


